The Juki MO-6716S is a 2-needle overlock machine designed for industrial use, offering high efficiency and precision in sewing operations, ideal for overlocking, seaming, and hemming․
1․1․ Overview of the MO-6716S Model
The Juki MO-6716S is a high-performance, 2-needle safety stitch industrial sewing machine designed for versatility and durability․ It is part of Juki’s extensive range of overlock machines, catering to various industrial sewing needs․ This model is known for its precision and reliability, making it suitable for sewing lightweight to medium-weight fabrics․ The MO-6716S operates efficiently in both automatic and manual modes, offering consistent stitch quality․ Its compact design and user-friendly controls ensure ease of operation․ The machine is ideal for overlocking, seaming, and hemming, with adjustable stitch widths and lengths to accommodate diverse applications․ It adheres to JIS E13 standards, ensuring high-quality performance and safety․
1․2․ Key Features and Applications
The Juki MO-6716S features a robust construction with advanced mechanisms, including a differential-feed micro-adjustment system for precise fabric handling․ It offers a wide range of stitch lengths and widths, making it suitable for various applications like overlocking, seaming, and hemming․ The machine’s safety stitch mechanism ensures superior seam quality and durability․ Its external adjustment mechanism simplifies setup and operation․ Ideal for sewing lightweight to medium-weight fabrics, the MO-6716S is commonly used in garment manufacturing, textile production, and home furnishings․ Its versatility and reliability make it a preferred choice for industrial sewing environments․ The machine’s user-friendly design and high-speed operation enhance productivity, catering to both small-scale and large-scale production needs․
Safety Precautions and Initial Setup
Always read the instruction manual and understand safety measures before operating․ Ensure proper setup, including adjusting the lower looper and differential feed, to maintain optimal performance and safety․
2․1․ Essential Safety Measures Before Adjustment
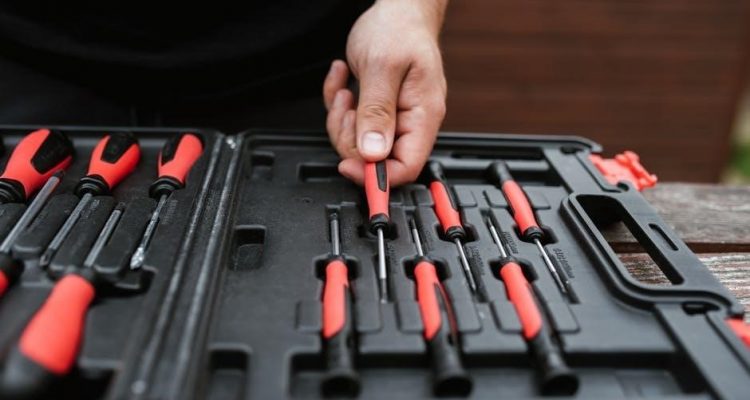
Before adjusting the MO-6716S, ensure all safety protocols are followed․ Turn off and unplug the machine to prevent accidental start-up․ Wear protective eyewear and avoid loose clothing․ Read the instruction manual thoroughly to understand proper procedures․ Always use recommended tools to avoid damage or injury․ Ensure the work area is clean and well-lit to minimize hazards․ Keep children and unauthorized individuals away from the machine․ Familiarize yourself with emergency stop mechanisms․ Never attempt adjustments without proper training or guidance․ Failure to follow safety measures may result in injury or machine damage․ Proper preparation ensures safe and effective adjustment procedures․
2․2․ Preparing the Machine for Adjustment
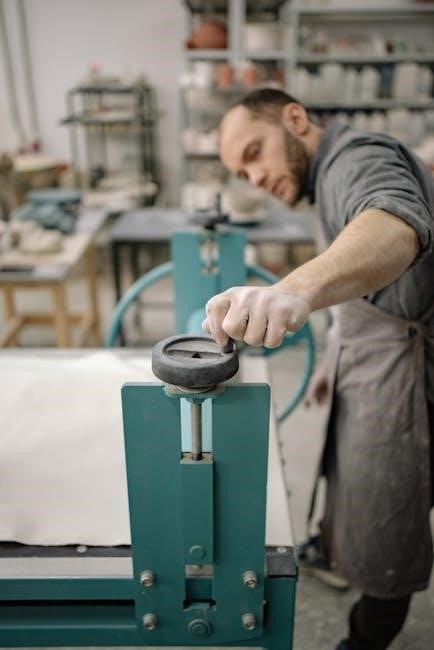
Before adjusting the MO-6716S, ensure the machine is properly prepared․ Clean the machine thoroughly, removing any debris or lint that may interfere with adjustment․ Lubricate moving parts as specified in the manual to maintain smooth operation․ Check for any worn or damaged components and replace them if necessary․ Ensure all screws and bolts are tightened securely to prevent misalignment during adjustment․ Use the correct tools provided or recommended for adjustments to avoid damaging the machine․ Finally, consult the instruction manual for specific preparation steps tailored to the MO-6716S model․ Proper preparation ensures accurate and effective adjustments, minimizing the risk of errors or machine damage․

Adjustment Procedures for the MO-6716S
The MO-6716S requires precise adjustments for optimal performance․ Key adjustments include lower looper alignment, needle height calibration, and differential feed fine-tuning․ Always refer to the manual for guidance;
3․1․ Adjusting the Lower Looper
Adjusting the lower looper on the MO-6716S ensures proper thread loop formation․ Begin by loosening the setscrew on the lower looper assembly․ Rotate the adjusting screw clockwise or counterclockwise to achieve the desired clearance, typically 0․05 to 0․1 mm․ Use the reference marks on the assembly as a guide․ After adjustment, tighten the setscrew securely․ Improper alignment can lead to uneven stitching or thread breakage, so precise calibration is crucial․ Always refer to the instruction manual for specific torque values and detailed steps to maintain machine performance and ensure consistent stitch quality in your sewing operations․
3․2․ Setting the Needle Height
Setting the needle height on the MO-6716S ensures optimal stitch quality and fabric compatibility․ To adjust, locate the needle height adjustment mechanism, typically found near the needle bar․ Loosen the locking screw and rotate the adjustment dial to raise or lower the needle to the desired height․ Use a gauge or measuring tool to verify accuracy․ For standard operations, the needle height is usually set between 3․2 mm and 4․8 mm, depending on fabric thickness․ Tighten the locking screw firmly after adjustment․ Proper needle height prevents fabric damage and ensures consistent stitching․ Always consult the instruction manual for specific guidelines tailored to your sewing needs․
3․3․ Fine-Tuning the Differential Feed
Fine-tuning the differential feed on the MO-6716S is essential for achieving consistent stitch quality, especially when working with varying fabric types․ The differential feed mechanism allows for precise control over fabric movement during sewing․ To adjust, locate the differential feed adjustment screw, typically positioned near the feed dog․ Turn the screw clockwise to increase the feed ratio or counterclockwise to decrease it․ Use a small screwdriver for fine adjustments․ For delicate fabrics, a lower feed ratio is recommended, while thicker materials may require a higher setting․ Always test the adjustment on scrap fabric before sewing to ensure optimal results and prevent fabric distortion or stretching․
Specific Parts and Their Adjustment
The MO-6716S features adjustable components like the needle bar and loopers, which are crucial for maintaining precise stitching and fabric handling, ensuring optimal sewing performance․
4․1․ Adjusting the Needle Bar
The needle bar on the MO-6716S is adjusted to ensure proper needle alignment and synchronization with the loopers․ Loosen the setscrew at the top of the needle bar using an Allen wrench․ Gently move the needle bar up or down to achieve the desired position․ Tighten the setscrew securely after adjustment․ This process ensures accurate stitch formation and prevents fabric damage․ Proper alignment is crucial for consistent overlocking and to avoid thread breakage or uneven stitching․ Always refer to the instruction manual for specific torque settings and safety guidelines during this adjustment․
4․2․ Calibrating the Upper and Lower Loopers
Calibrating the upper and lower loopers on the MO-6716S ensures optimal interaction between the needles and loopers, promoting smooth fabric flow and consistent stitching․ Begin by loosening the lower looper setscrew and adjusting its position to align with the needle’s path․ Tighten the setscrew once the desired position is achieved․ For the upper looper, adjust the clearance by turning the fine adjustment screw, ensuring it is synchronized with the lower looper’s movement․ Proper calibration prevents thread breakage and uneven stitch formation․ Regularly inspect and clean the loopers to maintain performance․ Refer to the instruction manual for detailed steps and safety precautions to ensure accurate calibration and machine longevity․

5․Troubleshooting Common Issues

Troubleshooting Common Issues
Address thread breakage by checking tension settings and fabric alignment․ Resolve uneven stitches by adjusting the needle height and ensuring proper looper synchronization․
5․1․ Resolving Thread Breakage Problems
Thread breakage on the MO-6716S often occurs due to incorrect thread tension, misaligned threads, or improper needle positioning․ To resolve this, first, inspect the thread guides and ensure they are free from obstructions․ Adjust the thread tension according to the fabric type and thickness, as outlined in the manual․ Check the needle alignment and ensure it is properly secured․ If issues persist, verify the lower looper adjustment and ensure synchronization with the needle movement․ Refer to the instruction manual for specific guidelines on thread setup and tension adjustment to prevent recurring breakage and maintain optimal stitching quality․
5․2․ Correcting Uneven Stitch Formation
Uneven stitch formation on the MO-6716S can result from improper needle alignment, incorrect thread tension, or misadjusted loopers․ To correct this, first, ensure the needle is properly secured and aligned with the looper․ Check the thread tension settings and adjust them according to the fabric type, as outlined in the manual․ If the issue persists, inspect the lower looper adjustment and ensure it is synchronized with the needle movement․ Fine-tune the differential feed mechanism to maintain consistent fabric flow․ Regular lubrication and cleaning of the machine can also prevent stitch irregularities․ Refer to the instruction manual for specific adjustment procedures to achieve uniform stitching quality․

Maintenance and Long-Term Care
Regular cleaning and lubrication are essential to maintain the MO-6716S’s performance․ Schedule professional servicing annually to inspect and replace worn parts, ensuring long-term reliability and optimal operation․
6․1․ Regular Cleaning and Lubrication
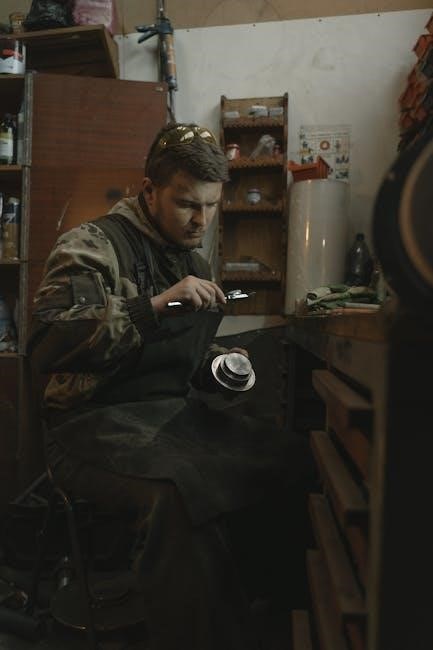
Regular cleaning and lubrication are crucial for maintaining the MO-6716S’s performance․ Use a soft brush to remove lint and debris from the machine’s interior, paying attention to the loopers and needle area․ Clean the oil shield plate and apply a few drops of Juki-recommended oil to ensure smooth operation․ Lubricate moving parts daily, following the manual’s guidelines․ Additionally, inspect and replace worn parts during annual professional servicing to prevent mechanical issues․ Always refer to the instruction manual for specific cleaning and lubrication procedures to ensure optimal functionality and extend the machine’s lifespan․ Proper maintenance ensures consistent stitching quality and reduces downtime․
6․2․ Scheduling Professional Servicing
Professional servicing is essential for maintaining the MO-6716S’s optimal performance․ Schedule annual servicing with a certified technician to inspect and replace worn parts, clean internal components, and adjust mechanisms․ During servicing, technicians will check the needle bar, loopers, and differential feed system for proper alignment and functionality․ Lubrication of internal gears and shafts will also be performed to ensure smooth operation․ Regular professional maintenance prevents unexpected breakdowns and extends the machine’s lifespan․ Always refer to the instruction manual for recommended servicing intervals and procedures․ This ensures the machine continues to deliver consistent stitching quality and reliability for industrial-scale production demands․