A tailor body measurement chart for sewing is a essential tool for achieving precise garment fit․ It provides detailed guides for over 20 key measurements, ensuring accuracy and customization․ Available as a free printable PDF, these charts help tailors and DIY sewers create perfectly fitting clothes․ They include diagrams, measurement tables, and tips for recording and updating measurements, making them indispensable for both beginners and professionals․ Downloading and using these charts ensures a custom-fit wardrobe with ease․
Understanding the Importance of Accurate Measurements
Accurate body measurements are the foundation of successful sewing projects, ensuring garments fit well and look professional․ Without precise measurements, even the most skillfully crafted pieces can appear ill-fitting or unflattering․ Proper measurements allow for the creation of patterns that align with your body shape, eliminating common issues like tight shoulders or gaping seams․ They also enable the selection of appropriate fabrics and styles that complement your figure․ By taking the time to measure correctly, you can avoid costly mistakes and achieve a polished, custom finish in your sewing projects․

Overview of the Tailor Body Measurement Chart for Sewing
A tailor body measurement chart is a comprehensive guide designed to help sewists achieve precise fits in their projects․ It outlines key measurements, such as bust, waist, hips, shoulders, and neck, to ensure garments are tailored to individual body types․ The chart serves as a quick reference for comparing body measurements to pattern requirements, aiding in fabric selection and style choices․ It also allows for adjustments to accommodate personal fit preferences, making it an essential tool for both beginners and experienced sewists․
Why Accurate Body Measurements Matter in Sewing
Accurate body measurements ensure a perfect garment fit, optimal fabric usage, and enhanced comfort․ They help avoid alterations and create a professional, polished appearance․
The Role of Body Measurements in Garment Fit
Body measurements are crucial for achieving a flattering and functional garment fit․ They ensure the garment is neither too tight nor too loose, allowing for a full range of motion and a polished appearance․
By using precise measurements, sewers can align patterns correctly, ensuring seams, darts, and openings are positioned accurately․ This leads to a garment that drapes well and complements the body shape․
Accurate measurements also guide fabric usage and construction, making the sewing process more efficient․ They are essential for creating garments that fit perfectly, ensuring comfort and a professional finish․
How Measurements Influence Pattern Selection
Body measurements play a vital role in selecting the right sewing patterns, ensuring a flattering and well-fitting garment․ Measurements help determine the appropriate size and style of the pattern, catering to individual proportions․ For instance, bust, waist, and hip measurements guide the choice of patterns designed for specific body types․ Accurate measurements also influence adjustments needed for a perfect fit, such as altering sleeve lengths or bodice darts․ Additionally, they help estimate fabric requirements, ensuring the chosen pattern aligns with available materials․ Proper pattern selection based on measurements is essential for a successful sewing project․
Common Fit Issues Arising from Inaccurate Measurements
Inaccurate body measurements often lead to poor garment fit, such as clothes being too tight or too loose․ Common issues include shoulder seams that droop, necklines that gape, and fabric pooling at the waist or hips․ Misaligned darts and uneven hems are also frequent problems․ Additionally, garments may ride up or twist on the body due to improper proportioning․ These fit issues stem from not accounting for posture, body shape variations, or personal fit preferences․ Ensuring precise measurements is crucial to avoid these problems and achieve a professional finish in sewing projects․

Key Body Measurements for Sewing
Key body measurements for sewing include bust, waist, hips, shoulders, neck, and arm circumference․ Essential accurate measurements ensure proper fit and alignment in garments․
Bust, Waist, and Hip Measurements
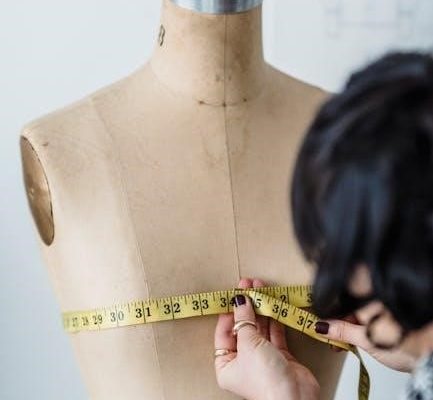
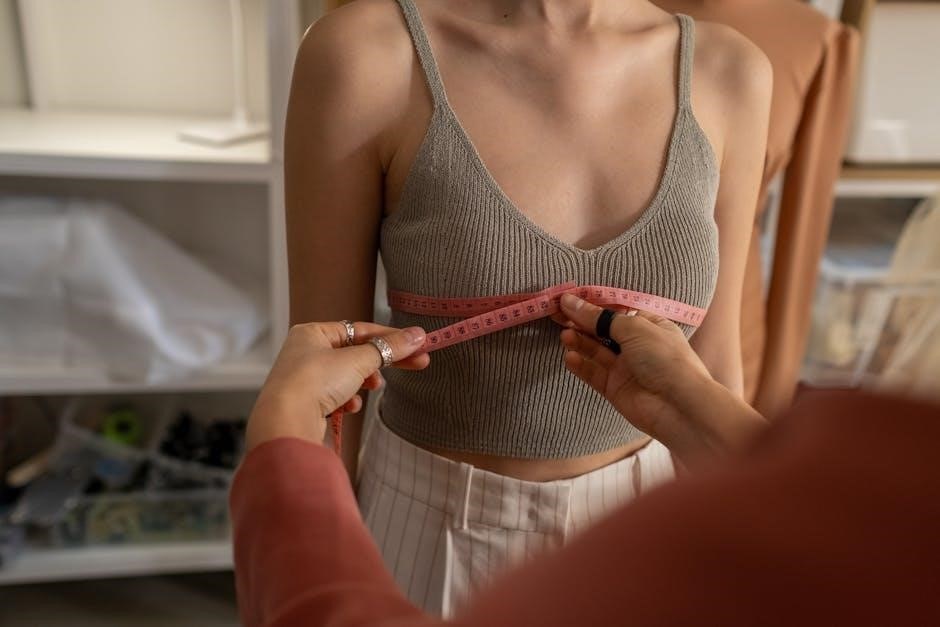
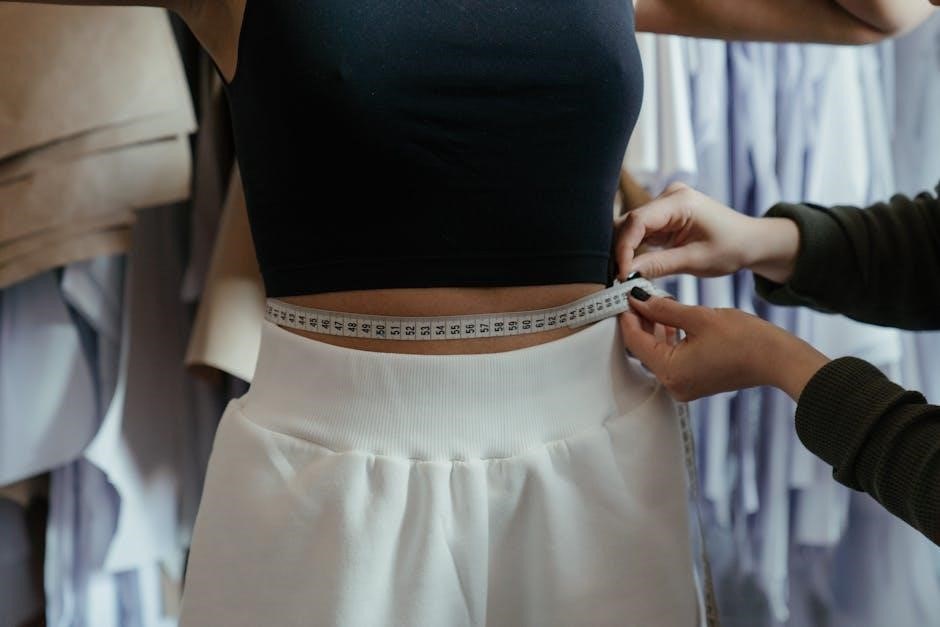
Accurate bust, waist, and hip measurements are foundational for sewing․ The bust is measured around the fullest part, ensuring the tape is level and parallel․ The natural waist, typically the narrowest point above the hips, is measured snugly but comfortably․ Hips are measured 7-9 inches below the waistline, around the widest part․ These measurements are critical for determining garment fit and proportions, especially for dresses, skirts, and pants․ They help ensure proper drape and alignment, making them essential for achieving a flattering and functional design․
Shoulder, Neck, and Arm Measurements
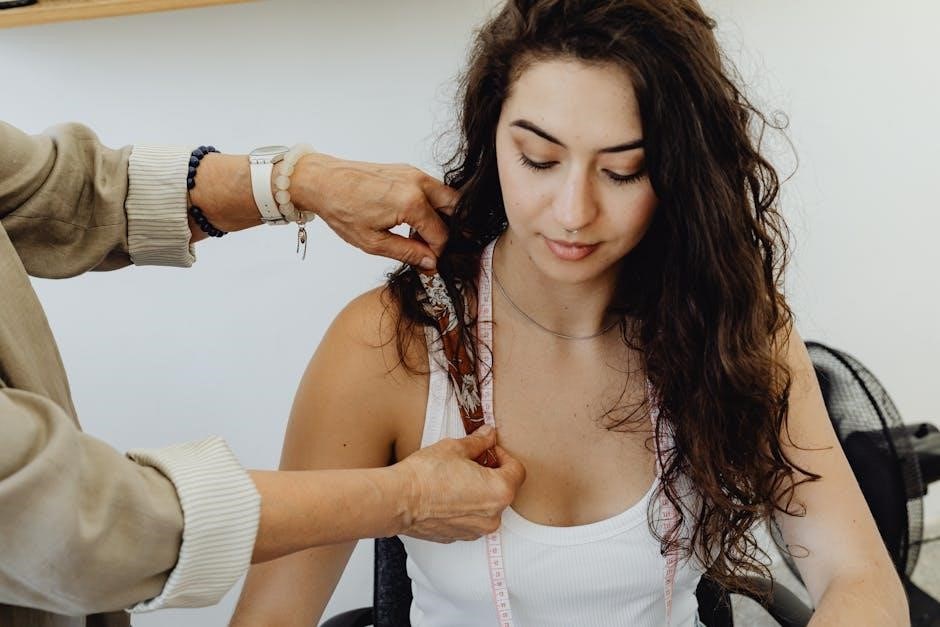
Shoulder, neck, and arm measurements are essential for garments requiring precise fit, such as shirts, jackets, and coats․ The shoulder measurement spans from the base of the neck to the arm’s edge․ The neck is measured around the base, with the tape slightly relaxed for comfort․ Arm length is taken from the shoulder tip to the wrist, ensuring the arm is slightly bent․ These measurements ensure proper fit and alignment, particularly for sleeves and collars, contributing to a professional finish and optimal comfort in tailored pieces․
High Hip, Body Rise, and Leg Measurements
High hip, body rise, and leg measurements are crucial for tailoring pants and skirts․ The high hip is measured around the widest part of the hips, about 3-4 inches below the waist․ Body rise refers to the distance from the crotch to the waistline, affecting how pants sit and ensuring comfort․ Leg measurements include inseam and thigh circumference, ensuring proper fit and comfort․ Accurate measurements here help avoid issues like tight waistbands or ill-fitting legs, ensuring garments look and feel great․
Additional Measurements for Custom Fit
For a tailored fit, additional measurements such as across back, cross chest, and shoulder slope are essential․ Armhole depth ensures sleeves fit comfortably, while elbow and wrist measurements are crucial for shirt and dress sleeves․ Torso length helps position the waistline accurately, and crotch depth ensures pants fit comfortably․ Knee and hand width measurements are useful for detailing, while ankle and calf measurements ensure proper fit for pants and skirts․ These measurements allow for pattern adjustments, ensuring garments align perfectly with your body shape and preferences․
How to Take Accurate Body Measurements
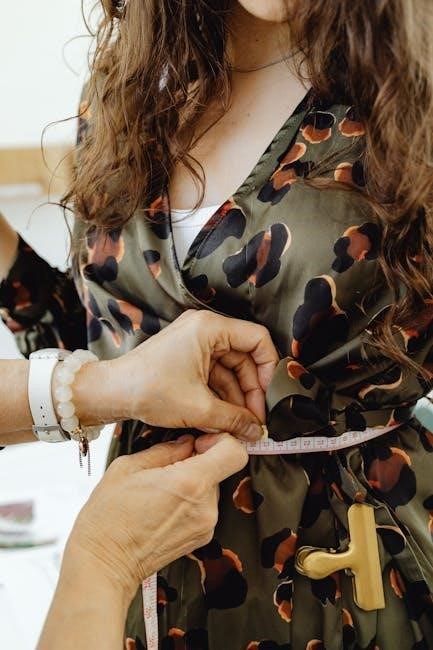
Use a flexible tape measure, stand straight, and relax muscles․ Measure key points like bust, waist, and hips․ Ensure consistent positioning for precise results every time․
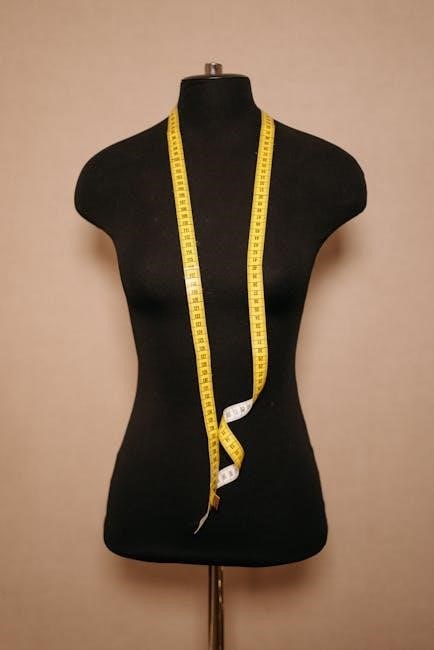
Tools Needed for Measuring
To take accurate body measurements, you’ll need a flexible tape measure, preferably made of fiberglass or vinyl for durability․ A sewing gauge or small ruler can help measure shorter distances․ Ensure the tape measure is at room temperature and not stretched or warped․ Use a pen and notebook to record measurements clearly․ A full-length mirror can assist in verifying the tape’s placement and alignment․ These tools are widely available at sewing stores or online․ Some tailor body measurement charts include measurement guides to help you use these tools effectively․
Step-by-Step Guide to Taking Measurements
Begin by standing upright with feet together and shoulders relaxed․ For bust measurements, wrap the tape around the fullest part, keeping it level․ Measure the natural waistline, typically one inch above the belly button․ Hip measurements are taken around the widest point, usually 7-9 inches below the waist․ Shoulder measurements are from the base of the neck to the arm’s edge․ Neck measurements are taken around the base, leaving space for one finger․ Ensure the tape is parallel to the floor and not pulled too tight for accurate results․
Tips for Ensuring Precision
For precise measurements, use a flexible tape measure and ensure it’s level․ Wear a well-fitting bra and thin clothing to avoid adding bulk․ Measure in front of a mirror to check alignment․ Consistency is key—always measure at the same time of day․ Document measurements with the date for tracking․ Smooth the tape firmly but gently to avoid wrinkles․ Consider having a helper for hard-to-reach areas․ Take multiple measurements and average them for accuracy․ Regular practice improves skill, ensuring reliable results for your sewing projects․
Using the Tailor Body Measurement Chart
Align body measurements with sewing patterns for precise fit․ Calculate wearing ease for fabrics․ Adjust measurements for personal style and cross-check with sizing guides for accuracy․
Interpreting the Chart for Sewing Projects
Interpreting the tailor body measurement chart involves matching your measurements to sewing patterns, considering factors like ease, fabric type, and body shape․ Start by identifying key measurements such as bust, waist, and hips, and align them with the pattern’s sizing chart․ Understand that patterns include ease, which varies by garment type and fabric․ For example, stretch fabrics require less ease than non-stretch ones․ Ensure accurate measurements by using a flexible tape measure, keeping it level, and avoiding tight or loose wrapping․ Regularly update your measurements as your body changes․ When sewing for others, carefully take their measurements and consider their body type and fit preferences․ Use the chart to select patterns, adjust them for fit, and make necessary alterations․ For guidance, refer to tutorials or videos that demonstrate interpreting measurements and adjusting patterns․ Practice with simple projects to apply your understanding effectively․
Calculating Wearing Ease for Different Fabrics
Calculating wearing ease involves adding space to your body measurements to ensure comfort and mobility․ The amount of ease varies by fabric type and garment purpose․ For example, stretch fabrics like knits require minimal ease, while non-stretch fabrics like cotton need more․ Typically, 1-2 inches of ease is added to bust, waist, and hip measurements for fitted garments, increasing for looser styles․ Use the tailor body measurement chart to determine base measurements, then adjust for fabric type and desired fit․ Refer to pattern guidelines for specific ease recommendations to ensure optimal comfort and functionality in your sewing projects․
Adjusting Measurements for Personal Fit Preferences
Adjusting measurements for personal fit preferences allows for customization beyond standard sizing․ For a relaxed fit, add 1-2 inches to key measurements like bust, waist, and hips․ For a tailored look, reduce ease slightly; Consider body shape variations, such as adding length to sleeves or adjusting rise for torso proportions․ Use the tailor body measurement chart as a base, then tweak measurements to reflect individual comfort and style preferences; This ensures garments fit perfectly while accommodating personal aesthetics and movement needs․ Regularly update adjustments as fit preferences evolve over time․
Where to Find Tailor Body Measurement Charts
Sewing websites, craft stores, and forums often provide free tailor body measurement charts in PDF format for easy download and printing for custom sewing projects․
Free Printable PDF Charts for Sewing
Free printable PDF tailor body measurement charts are widely available online, designed specifically for sewing enthusiasts․ Many sewing blogs, pattern companies, and crafting websites offer downloadable charts that cater to various body types and sewing needs․ These charts are easy to print and use, providing clear instructions and measurement guides․ They often include standard measurement sets, such as bust, waist, and hip, along with space for noting personal alterations․ Printable PDFs are ideal for sewists who prefer physical copies for quick reference while working on projects․
Professional Measurement Guides and Resources
Professional measurement guides and resources are essential for achieving precision in sewing․ Many fashion schools and tailoring organizations offer detailed e-books and courses that provide advanced techniques for taking measurements․ These resources often include comprehensive charts tailored to specific body types and garment styles․ Additionally, professional tailors recommend using high-quality measuring tools and apps designed for accuracy․ Investing in these resources ensures that your measurements are precise, leading to better-fitting garments․ They are particularly useful for advanced sewists looking to refine their skills and create custom-fit designs with confidence․
Downloading and Printing the Chart
Downloading and printing a tailor body measurement chart is straightforward․ Most sewing websites offer free PDF charts that can be downloaded instantly․ Ensure your printer is set to 100% scale to maintain accuracy․ Print the chart on standard paper or cardstock for durability․ Laminate it if desired for long-term use․ Always verify the chart’s measurements against your own before cutting fabric․ This step ensures a perfect fit and saves time․ Keep the chart handy for quick reference during sewing projects․
Customizing Your Measurement Chart
Customizing your chart allows personalization for better fit․ Add notes, highlight key measurements, and adjust categories to suit your sewing needs and preferences for accuracy․
Adding Personal Notes and Preferences
Adding personal notes and preferences to your tailor body measurement chart enhances its utility․ Highlight key measurements, note fit preferences, and include reminders for specific adjustments․ For example, mark measurements that require attention or indicate fabric allowances․ Use symbols or color-coding to differentiate between measurements for different garment types․ This customization ensures the chart reflects your unique needs, improving accuracy and streamlining the sewing process․ Personalization also helps track changes over time, making it easier to adapt patterns and achieve a perfect fit consistently․
Creating a Digital Version for Easy Access
Creating a digital version of your tailor body measurement chart ensures easy access and organization․ Use spreadsheet software or note-taking apps to input measurements, allowing for quick updates and reference․ Include tabs for different categories, such as bust, waist, and hip measurements, and add photos for visual reference․ This digital format is ideal for sharing with sewing partners or accessing on multiple devices․ Regular backups ensure your data is safe, making it a practical solution for modern sewists who value convenience and efficiency in their sewing projects․
Updating Measurements Over Time
Regularly updating your measurements is crucial as your body changes over time․ Schedule check-ups every 6-12 months to ensure accuracy․ Note fluctuations due to weight changes, aging, or posture shifts․ Use the same techniques and tools each time for consistency․ Documenting changes helps maintain a well-fitting wardrobe․ Update your tailor body measurement chart promptly to reflect current sizes, ensuring future sewing projects fit perfectly․ This practice saves time and reduces alterations, keeping your garments comfortable and flattering as your body evolves․
Common Mistakes to Avoid
Incorrect measuring techniques, neglecting body shape variations, and failing to update measurements regularly are common errors that can lead to poor garment fit and wasted fabric․
Incorrect Measuring Techniques
Incorrect measuring techniques are a frequent issue, leading to inaccurate results․ Forgetting to keep the tape measure level or snug can distort measurements․ Measuring over clothing or not positioning the tape correctly around the fullest part of the bust is another common mistake․ Additionally, failing to account for posture or body alignment can skew results․ To avoid this, use a flexible tape measure, ensure it’s horizontal, and avoid twisting․ Taking multiple measurements and averaging them can also improve accuracy․ Always measure in front of a mirror to ensure proper positioning and consistency in your results․
Neglecting to Account for Body Shape Variations
Neglecting body shape variations can lead to poor garment fit․ Standard charts may not cater to unique body types, such as pear-shaped, hourglass, or rectangular frames․ For instance, someone with a larger bust or broader shoulders may require pattern adjustments․ Failing to consider these variations can result in ill-fitting sleeves, uneven hems, or misaligned darts․ To ensure a better fit, compare your measurements to standard charts and make necessary alterations based on your specific body shape․ This step is crucial for achieving professional-looking, custom-tailored results in your sewing projects․
Not Regularly Updating Measurements
Not regularly updating body measurements can lead to poorly fitting garments․ Bodies change over time due to weight fluctuations, muscle gain, or posture adjustments․ Using outdated measurements may result in clothes that are too tight, too loose, or misaligned․ For accurate sewing, it’s essential to update measurements every 6–12 months or when significant body changes occur․ Seasonal variations, such as weight gain during holidays, can also affect fit․ Regular updates ensure your tailor body measurement chart remains reliable, helping you achieve consistent, flattering results in your sewing projects․
Frequently Asked Questions
Explore answers to common questions about tailor body measurement charts for sewing, ensuring accurate fits, successful projects, and a better understanding of your measurements and needs․
How Often Should Measurements Be Taken?
Measurements should be taken every 6 months or when significant changes in weight, muscle tone, or posture occur․ Seasonal adjustments may also be needed due to fabric choices․ Consistent updates ensure patterns align with current body dimensions, optimizing fit․ Regular checks prevent outdated measurements from causing sizing issues․ Tracking changes helps maintain accuracy in sewing projects, ensuring garments fit comfortably and look professional․ Stay proactive to reflect body changes accurately in your tailor body measurement chart for sewing PDF․
Can Measurements Be Taken Without Assistance?
While it’s possible to take some measurements independently, having assistance often ensures accuracy․ Tools like a flexible measuring tape and mirrors can help, but self-measuring can be challenging, especially for areas like the bust or hips․ Using clips or clamps might assist, but consistency and precision are key․ For critical measurements, assistance is recommended to maintain accuracy and proper positioning, especially for a good garment fit․
What If the Garment Still Doesn’t Fit?
If a garment doesn’t fit despite accurate measurements, check for errors in pattern selection, fabric choice, or sewing execution․ Ensure measurements were correctly interpreted and applied to the pattern․ Fabric stretch or drape can also affect fit․ Compare the finished garment to the pattern’s finished measurements․ Adjustments may be needed for personal fit preferences․ It’s important to troubleshoot step-by-step and make necessary alterations․ Remember, even with precise measurements, fit can vary, so patience and practice are key to achieving the desired result․
A tailor body measurement chart is essential for achieving precise fits in sewing projects․ By following the guide, you can create garments that flatter and fit perfectly, ensuring professionalism and confidence in every stitch․
Final Tips for Using the Tailor Body Measurement Chart
Always compare your measurements with sewing patterns to ensure the best fit․ Double-check your numbers before cutting fabric to avoid costly mistakes․ Consider fabric stretch and ease when selecting patterns․ Regularly update your measurements to account for body changes․ Store your chart in an accessible place for quick reference․ For optimal results, use a digital version to track changes over time․ Remember, precise measurements are key to professional-looking garments․ Start sewing with confidence, knowing your chart is your guide to flawless fits․
Encouragement to Start Sewing with Precision
Embark on your sewing journey with confidence using a tailor body measurement chart․ This essential tool ensures precise fits, elevating your creations to professional standards․ By following the chart, you’ll enjoy garments that flatter your body, boosting your sewing confidence․ Whether you’re a novice or experienced, the chart simplifies the process, guiding you to achieve flawless results․ Don’t hesitate to start—every stitch brings you closer to sewing success․ Let the chart be your foundation for a world of perfectly tailored projects․ The satisfaction of wearing custom-fit clothes is just a measurement away!